What You Need to Prepare for Your Commercial Espresso Machine Installation
Don't let installation day turn into a nightmare. Ryan, VP of Operations, shares the critical site requirements for electrical, plumbing, and bar design that most cafe owners overlook.

When Ryan, VP of Operations at Complete Coffee Solutions, walks into a new café for an installation, he can immediately sense how prepared the site is.
“The difference between a seamless installation and a delayed one is almost always preparation,” he says. “We want to ensure everything is ready so you can start brewing immediately.”
After talking with dozens of café owners, commercial coffee machine providers, and installation technicians across the industry, one message comes through loud and clear: preparing for your espresso machine installation is just as important as choosing the machine itself.
Here is what you actually need to know before the technician shows up at your door.
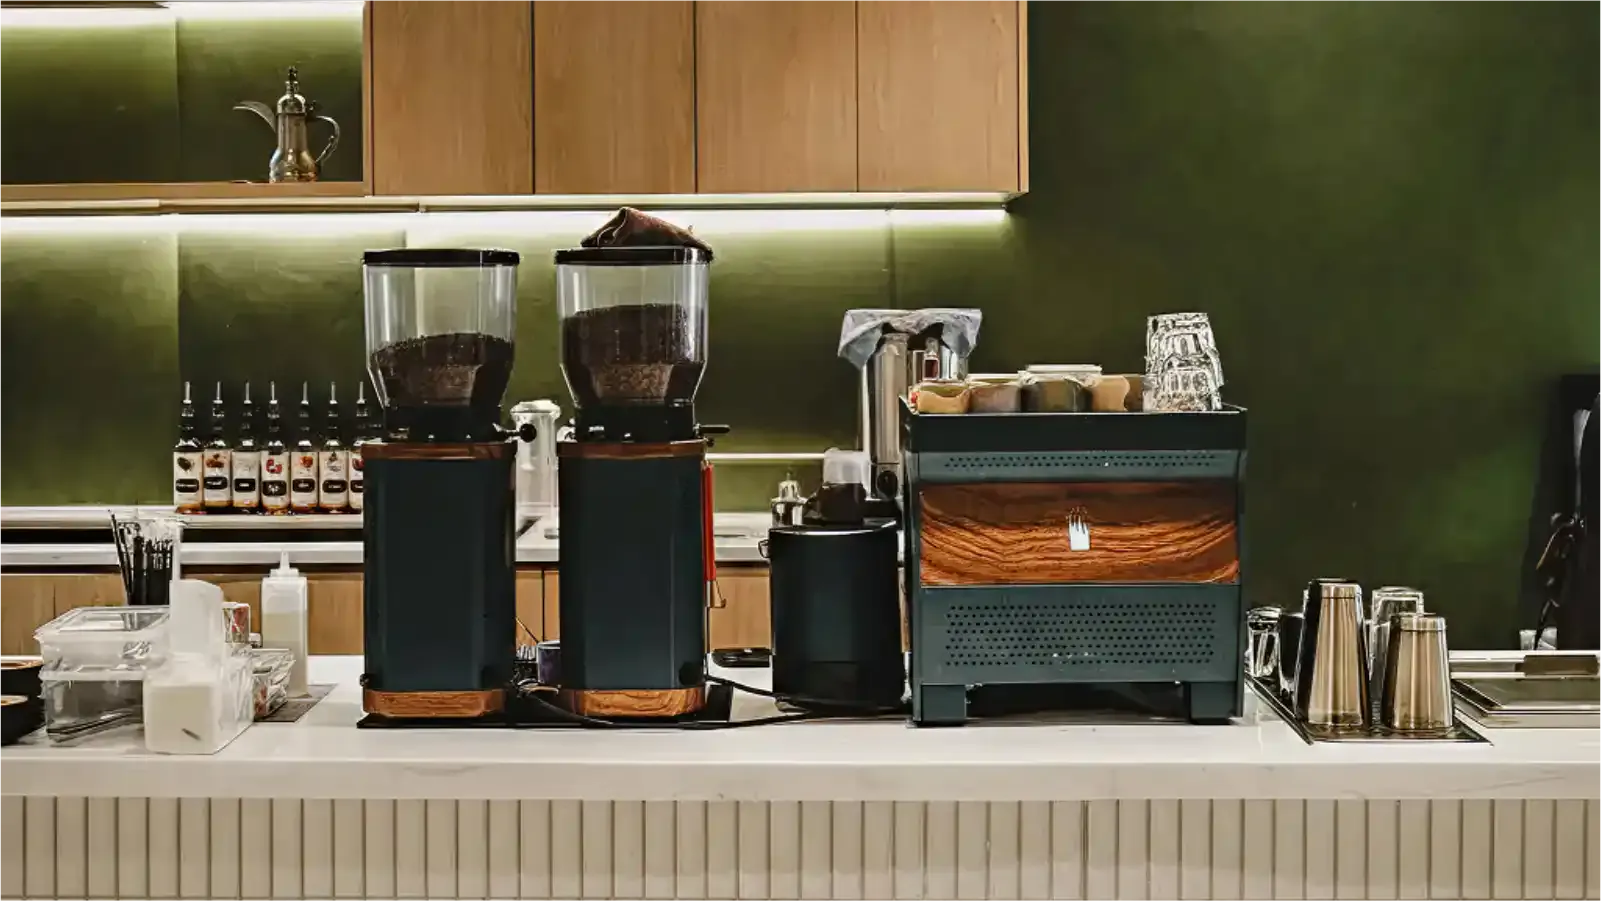
1. Start With Your Space (And Measure Twice)
One of the first things to check is dimensions. Espresso machines vary significantly in size.
“We’ve seen café designers draw up beautiful layouts based on ‘standard dimensions,’ only to discover their dream machine is 90mm too deep for the counter,” Ryan explains. Modern commercial machines, especially high-end models, can be significantly larger and heavier than traditional machines. Some three-group machines weigh over 130kg once filled with water.
Your counter needs to be:
- Wide enough for the machine plus grinder and working space.
- Deep enough (some machines exceed the standard 600mm depth).
- Strong enough to support considerable weight (300+ lbs).
- Perfectly level from side to side and front to back.
That last point isn’t just about aesthetics. “If your machine isn’t level, water doesn’t hit the coffee bed evenly during extraction,” notes an experienced café owner. “Your espresso will taste noticeably better, sweeter and more balanced, when the machine is perfectly level.”
Pro Tip: Industry experts recommend a counter height between 36-42 inches for comfortable barista workflow. Too high or too low, and your staff will be dealing with back pain and fatigue.
2. Get Your Holes Drilled (Before Installation Day)
Pre-drilling holes is a critical step that ensures the installation can proceed immediately.
Your counter needs pre-drilled holes, typically 2.5 to 4 inches in diameter, to run water lines, drain hoses, and electrical cables from beneath the counter to the machine. For stone, metal, or composite counters, these holes must be drilled before installation.
“We often encounter delays when holes aren’t pre-drilled in stone counters,” Ryan says. “Since technicians don’t carry stone-cutting equipment, this needs to be done by your contractor ahead of time.”
Action Item: Create a template of your machine’s base and mark the exact center as your drill point. Getting this wrong means starting over.
3. The Water Situation: It’s More Complex Than You Think
Here’s where things get technical, and it’s absolutely worth paying attention. Poor water quality is the number one cause of espresso machine failure, accounting for leaks, failed heating elements, and clogged lines.
What you need:
- A dedicated cold water line with a shut-off valve for each machine.
- A 3/8-inch male compression fitting (most common).
- Correct regulated water pressure (check your machine’s spec sheet).
- A proper filtration system.
Filtration is Non-Negotiable You can’t use distilled or reverse osmosis water without remineralization. Machines need some mineral content for sensors to function. But you also can’t use water that’s too hard, or you’ll get scale buildup that destroys your machine.
Different machines have different requirements. Copper boiler machines and stainless steel boiler machines require different water mineral balances. Depending on the water hardness in you area the filter quality matters.
“Proper filtration is essential to protect your investment,” Ryan notes. “Without it, scale buildup can lead to premature maintenance issues that aren’t covered by warranty.”
4. Electrical Requirements: Not Your Standard Outlet
Commercial machines have distinct power requirements compared to household appliances.
- Voltage: Usually 208-240V (verify your spec sheet).
- Circuit: Must be distinct and dedicated. Do not share it with other appliances.
- The Plug: Your machine likely comes with bare wires. A qualified electrician needs to install the appropriate plug (typically a twist-lock) and matching outlet. If CCS is conducting an install then our qualified technicians install the plug prior to installation.
Don’t Forget the Grinder Your grinder needs its own separate 110V outlet on an independent circuit. Running your grinder and machine on the same circuit is asking for tripped breakers during your morning rush.
Ryan’s Advice: “Invest in a quality surge protector. It costs a few hundred dollars and will pay for itself the first time there’s a power event. It’s cheap insurance for expensive equipment.”
5. The Drainage System Nobody Thinks About
A 3-inch open drain with a P-trap needs to be positioned directly beneath your machine. This allows the drain hose from the machine to drop straight down.
- Straight Drains Only: Angled drains will eventually block, creating a mess.
- Gravity Fed: The hose must flow downhill the entire way. Any loops or “U” shapes will cause backup and flooding.
6. Budgeting for Installation Infrastructure
Beyond the machine itself, café owners should budget for the infrastructure to support it.
“We recommend budgeting an extra $6,000-$10,000 CAD beyond the machine cost for proper installation infrastructure,” Ryan advises. “It’s an investment in the long-term reliability of your equipment.”
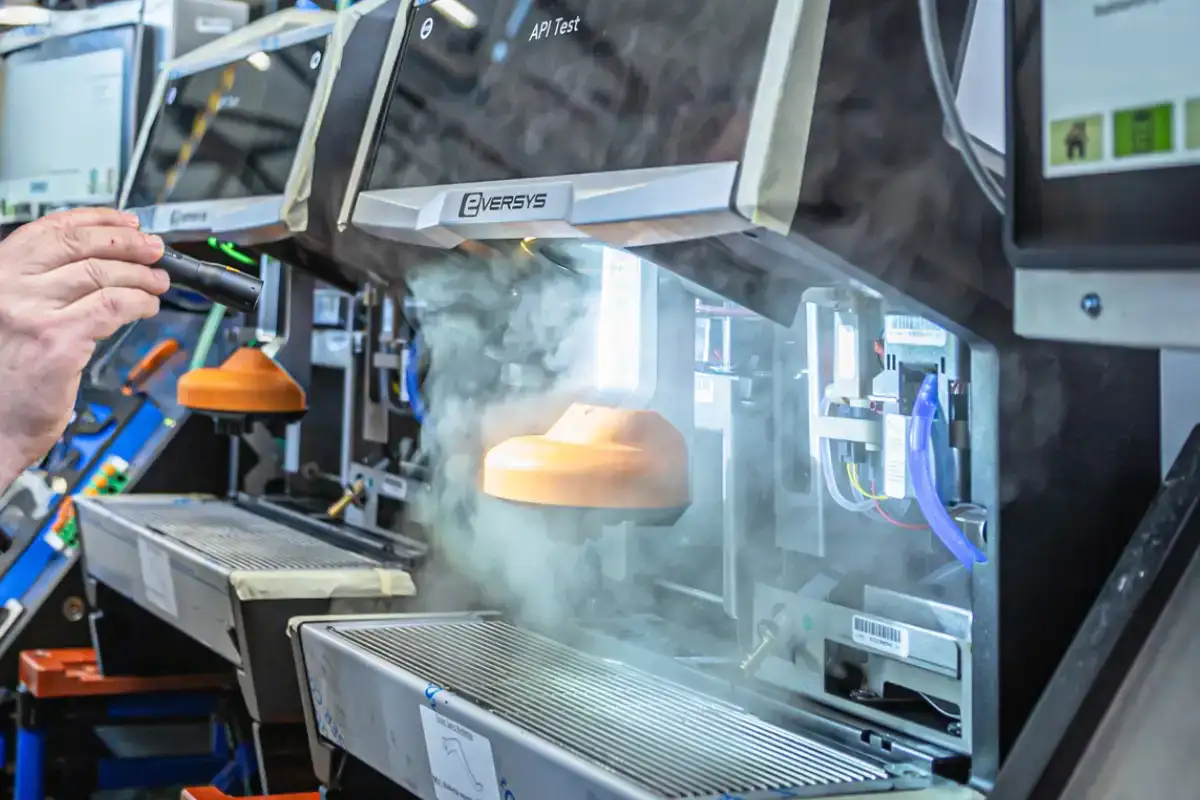
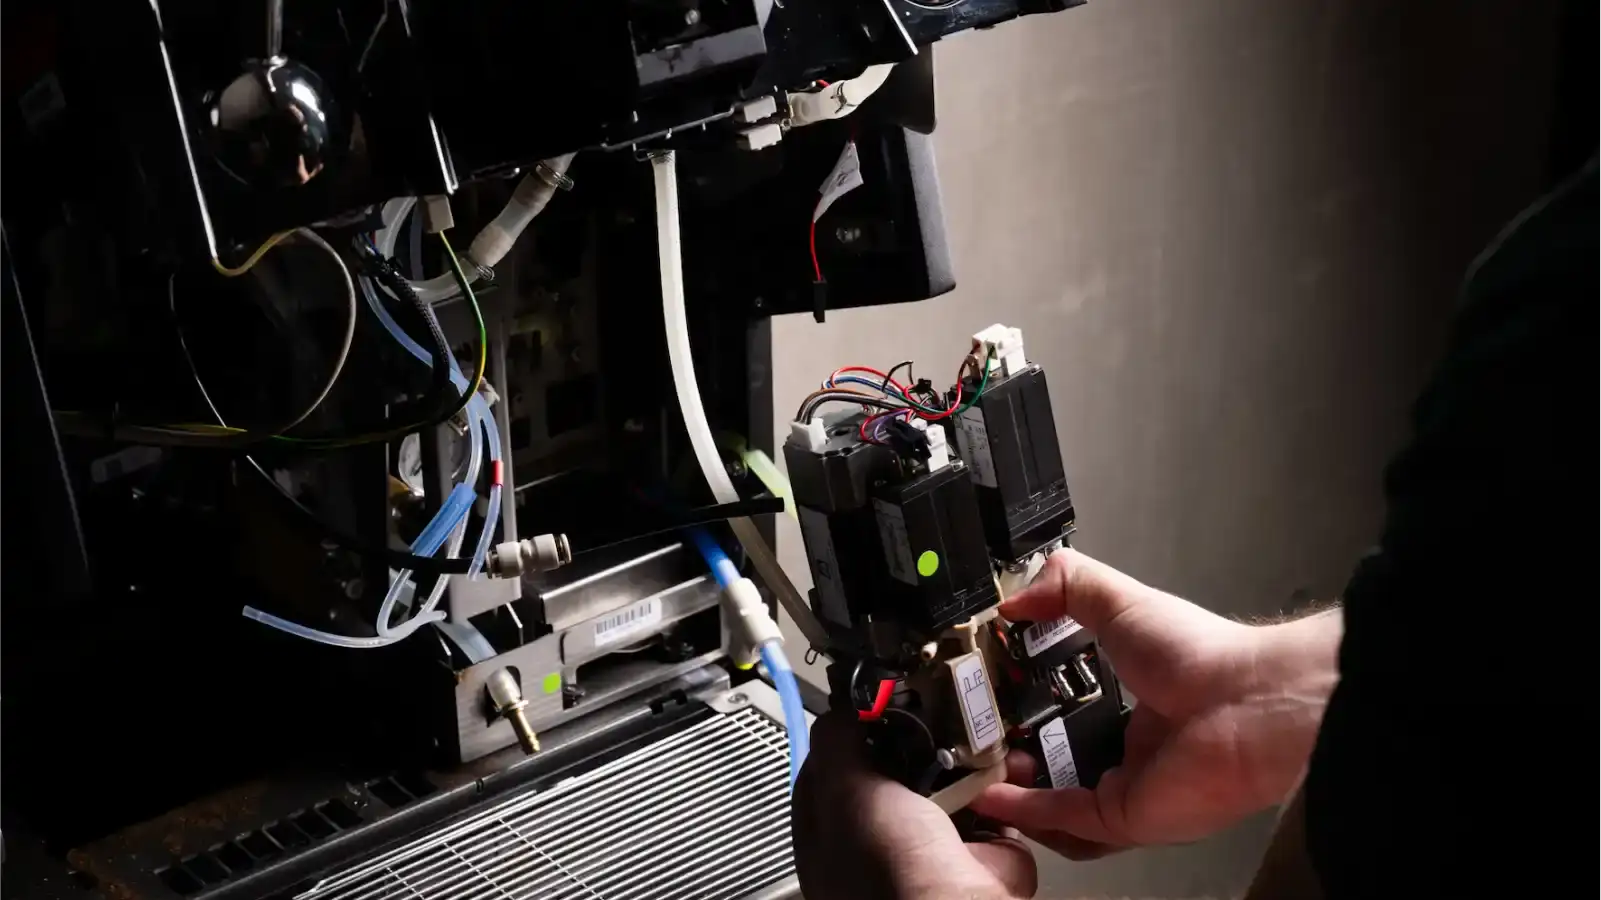
7. Professional Installation: Worth Every Penny
While some café owners attempt DIY installations, virtually every professional in the industry advises against it.
“Commercial espresso machines are complex pieces of equipment with precise requirements,” Ryan emphasizes. “Improper installation can void your warranty, damage the machine, or create safety hazards.”
What a Pro Does:
- Verifies all connections meet manufacturer specs.
- Programs volumetric settings for your coffee.
- Sets proper brew temperatures and pressures.
- Trains your staff on operation and basic maintenance.
- Completes warranty registration.
The Day-Of Timeline
When the installation team arrives, they expect to spend 2-4 hours completing the setup.
- Inspect: Check all pre-installation requirements (power, water, holes).
- Level: Position and level the machine on the counter.
- Connect: Hook up water, drain, and electrical.
- Test: Fill boiler, prime pumps, and run test shots.
- Train: Show your staff basic operation and cleaning.
“If something isn’t ready when we arrive, we can’t complete the installation,” Ryan says. “That’s why the preparation work is so important. Typically, we ask for a site visit before the installation date”
Need help coordinating your GTA installation? Contact me to book a CCS site survey and full equipment evaluation.
Technical Takeaway
Installation preparation is as critical as machine selection. Ensuring level counters, pre-drilled holes, proper filtration, and dedicated electrical circuits prevents costly delays and voids warranties. Budget an extra $6,000-$10,000 CAD for proper infrastructure to protect your investment.
Ryan
VP of Operations and Head of SalesRyan serves as the VP of Operations and Head of Sales at Complete Coffee Solutions. Bringing more than 14 years of executive experience in the coffee equipment sector, he oversees national operations and strategic sales growth across Canada. Ryan is a specialist in ROI modeling and high-efficiency workflow design, helping business owners maximize their operational potential.